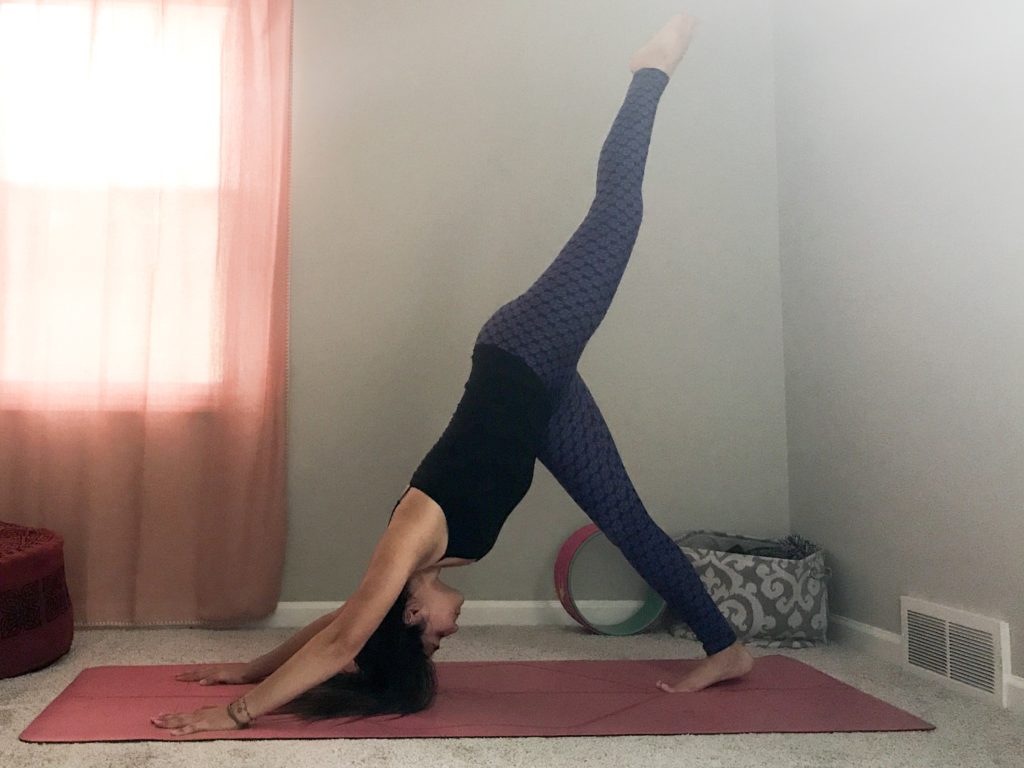
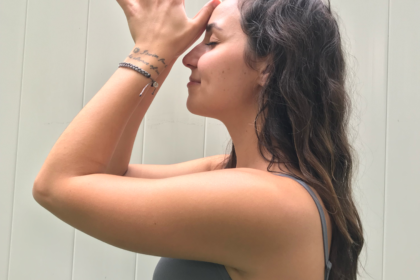
One of my favorite parts of my home practice is harnessing the energy I create during a practice and having it spread all throughout the home.
I love getting to a studio and practicing with other people, but I really cherish my home practice since that’s where it all began. I love being able to practice morning, noon, or night. It can be as long or short as it needs to be, and I can change up the teachers and styles. It does take dedication, though! It can be easier to push off, which trust me, will happen. Here are some tips to get your home practice started.
Gather supplies
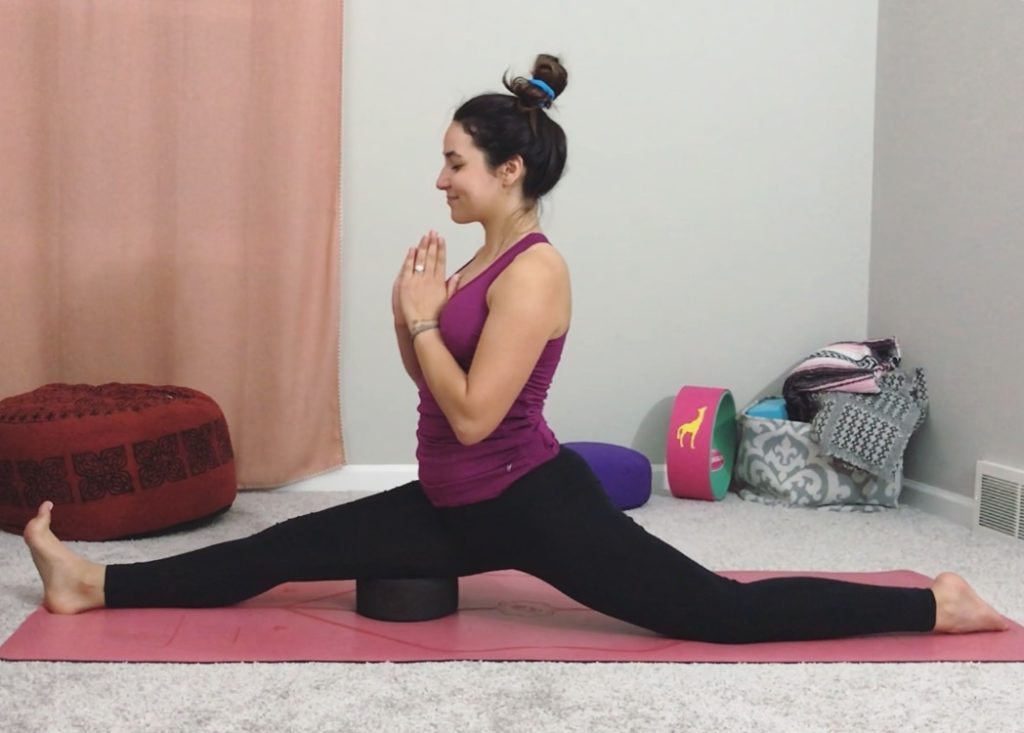
What you want to get first off is of course a yoga mat. This doesn’t have to cost much. My first mat was from Target, and maybe $15? For my 25th birthday, James got me a Liforme mat, which has been so worth it. However, this was after a couple years of near-daily practice, so no need to run out and invest in a mat like this out the gate.
Same goes with blocks, straps, bolsters, heavy yoga blankets. You don’t have to purchase all this at the beginning. I used items around my house for years before getting the props I have today. In place of blocks, you can use books or a stack of blankets. For a strap, you can use a belt, towel, or the shoulder strap that comes with most mats (which is what I did!). I used pillows and blankets in place of a bolster.
Find a quiet space
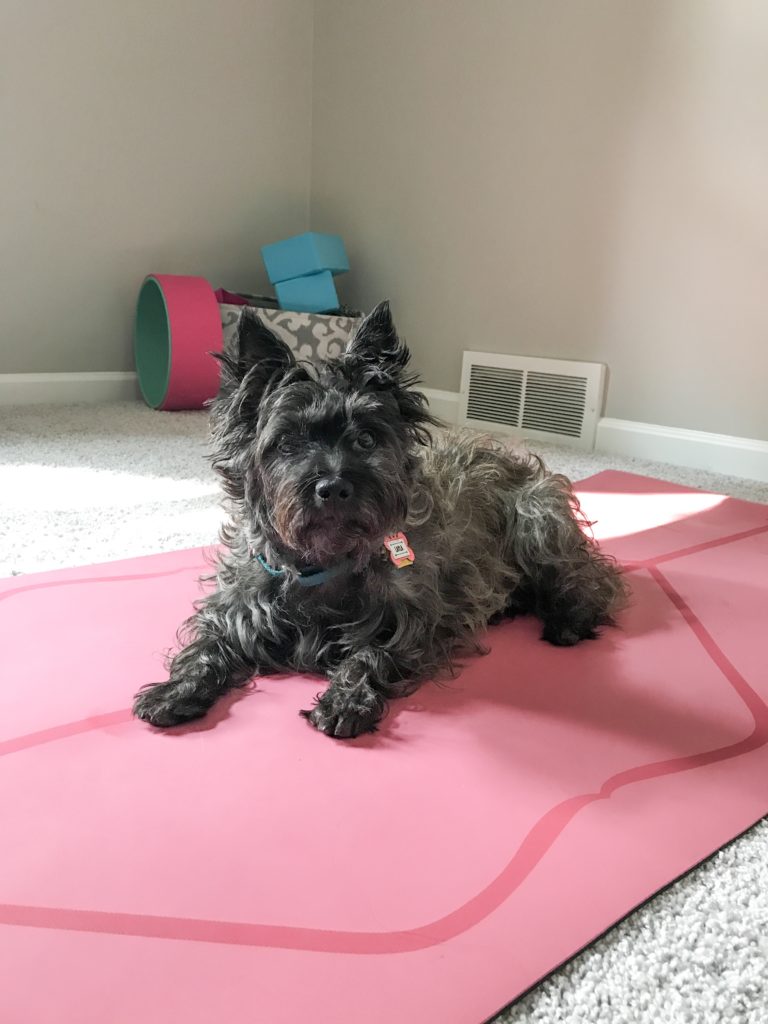
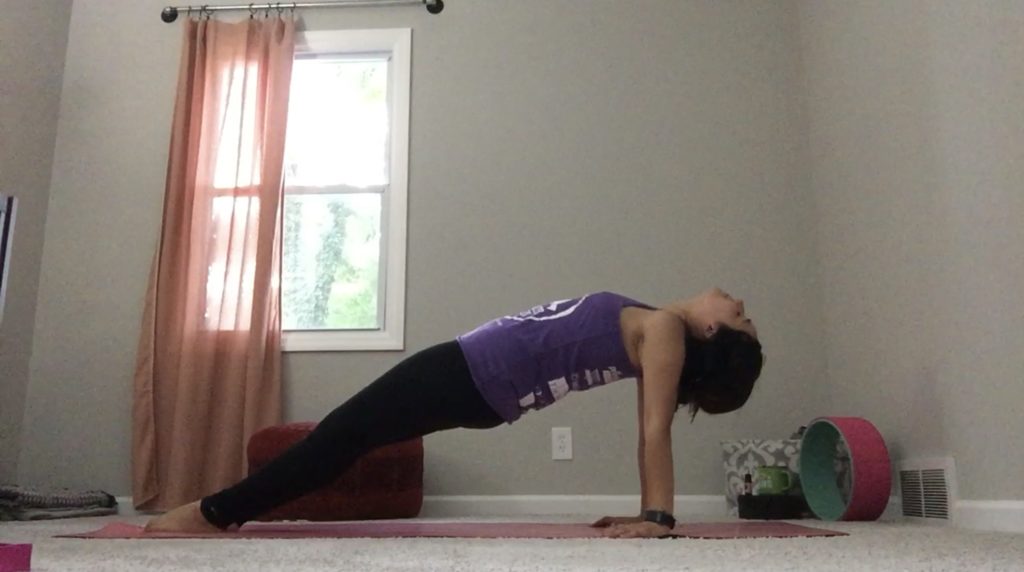
My first home was cozy & cluttered two bedroom, so in the beginning months of my practice, I’d unroll my mat in the living room. The pups all loved watching or “practicing” with me. I eventually cleared a small space in the second bedroom, then when James and I renovated, we pretty much turned the whole room into my little studio. That is because we don’t have children and didn’t need that room. You don’t need a full room – just enough space for your mat will do!
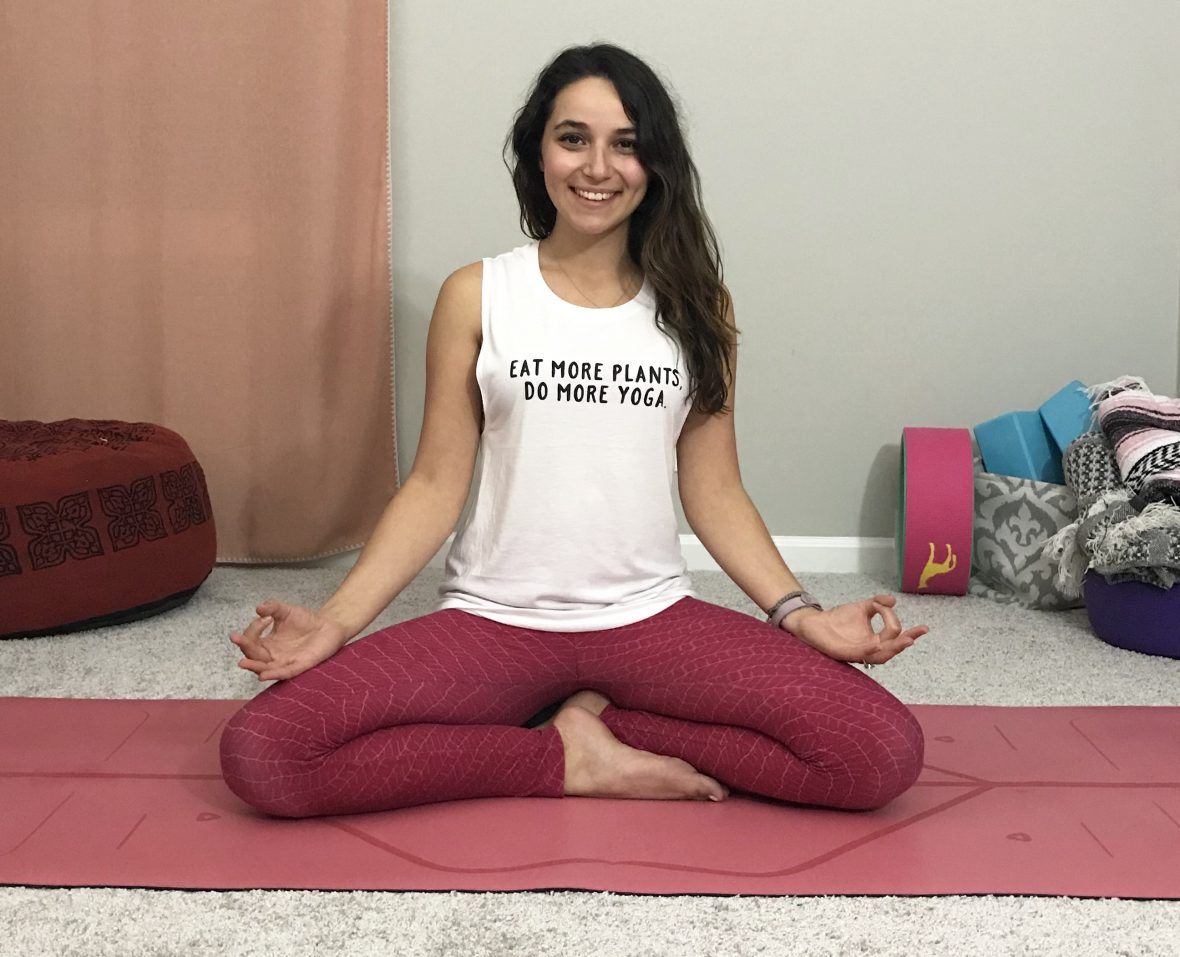
Wherever it is, make it relaxing
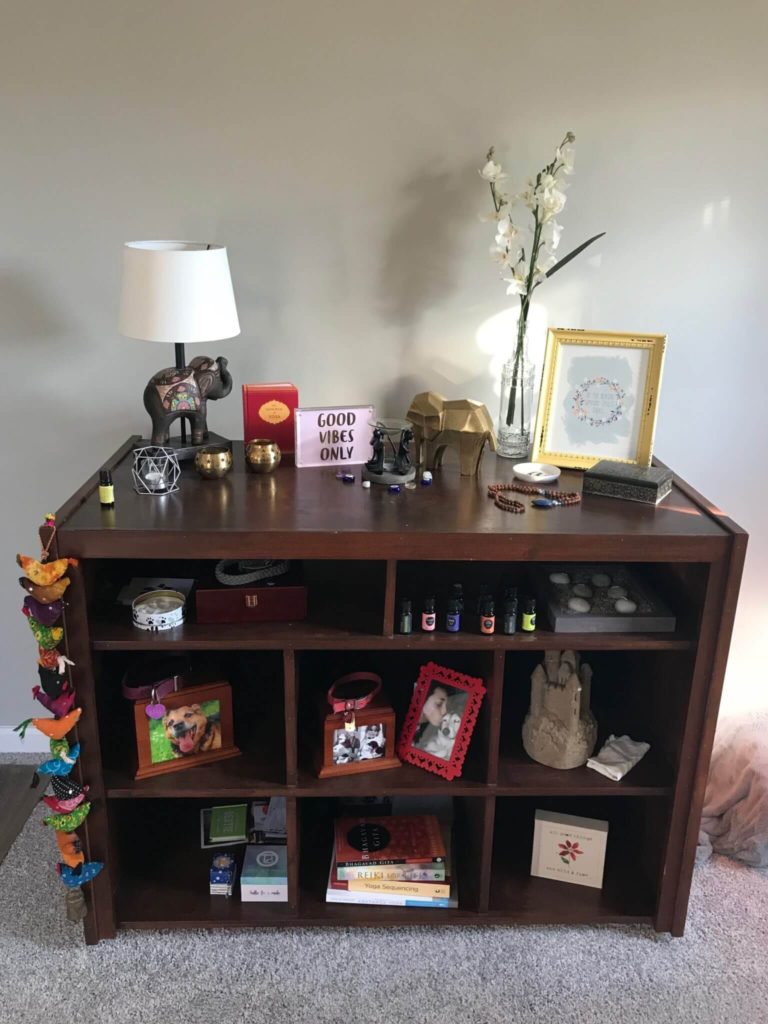
When I would practice in the living room, I would push the furniture back and open the curtains, which was relaxing enough for me. It evolved to having a small altar of special items, candles, and essential oils. On my current altar, I have a few inspirational quotes, crystals, memorials for Spot, Maxx, and Gus, sandcastle of my mom’s, and other objects given to me by my nearest & dearest. I start my practice by picking an oil, lighting my candles, and selecting my class.
Find teachers you like
There are so many excellent teachers online, and most of them are free, which you can find on YouTube. I really resonated with Lesley Fightmaster because I liked her energy and also liked how she would do voice-overs of her classes. This made it easier for me to hear the instructions. I even did a private virtual class with her, which was so cool! I still practice with Lesley, but I also invest in a subscription to oneOeight (first 10 days free then $15/month). I have found a few teachers I really, really connect with through this service.
Once you get going, you may even find you like to do your own thing, which is something I like doing. And I think because I have some experience with creating my own flows, this will really help when I start to put together classes for YTT!
If you’re using your phone to watch the videos, I would suggest putting it on Do Not Disturb, so you don’t get text alerts mid-practice. Nothing takes you out of savasana quite like the ding of a phone notification!
PRACTICE!
You have your mat, space, and class all ready. Press play & enjoy the time on your mat!
Don’t beat yourself up if you miss a day or a week, or if you can only practice for a few minutes. What’s important is that you are doing something good for your mind and body. You’ll be hard pressed to see it as time wasted! Carving out a little quiet time is key to becoming the best version of yourself for you & those around you.

2 Comments
Pingback:
April 6, 2019 at 1:46 amPingback:
January 16, 2020 at 6:30 pm